1. Install rbenv with Homebrew.
brew install rbenv ruby-build Add this to ~/.zshrc if you are using zsh:
eval "$(rbenv init - zsh)" 2. Change to your Jekyll blog's work directory, and install a newer version of Ruby:
rbenv install 3.1.3 3. Activate it for your Jekyll:
rbenv local 3.1.3 Check if you have got the desired version:
ruby -v It should output something like this:
ruby 3.1.3p185 (2022-11-24 revision 1a6b16756e) [arm64-darwin22] If you see an older version like this:
ruby 2.6.10p210 (2022-04-12 revision 67958) [universal.arm64e-darwin22] Check previous steps.
4. Install the two essential gems:
gem install bundler jekyll 5. Set bundle to use a local folder inside your website:
bundle config set --local path 'vendor/bundle' 6. Install the rest of gems:
bundle install If you encounter any issues with any Gems, try deleting the Gemfile.lock and running the command again.
7. Exclude the vendor folder in your Jekyll config file, for example:
exclude: - .ruby-gemset - .ruby-version - Gemfile - Gemfile.lock - Makefile - README.md - vendor/ You will also need to add the following lines into .gitignore:
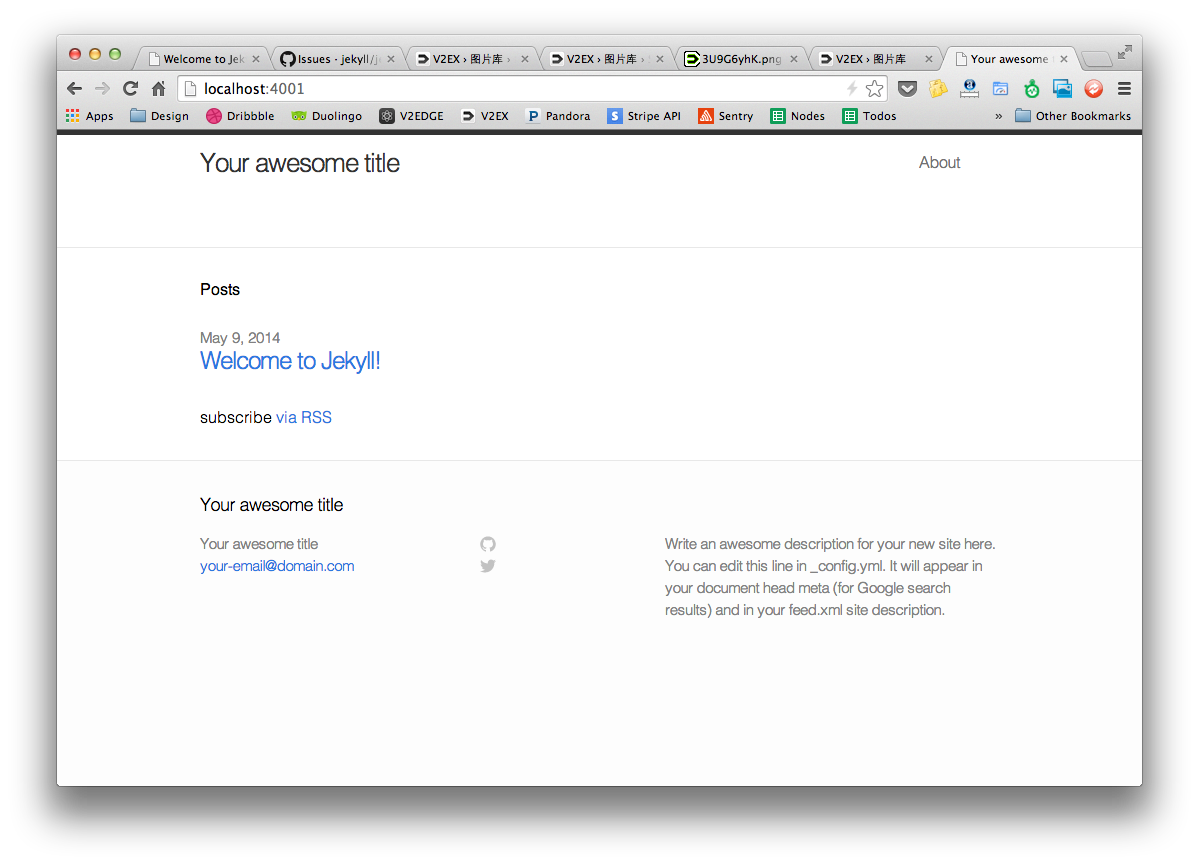
vendor/ .bundle/ 8. Your Jekyll installation is now set up and ready to use. To launch a live preview, try running the following command:
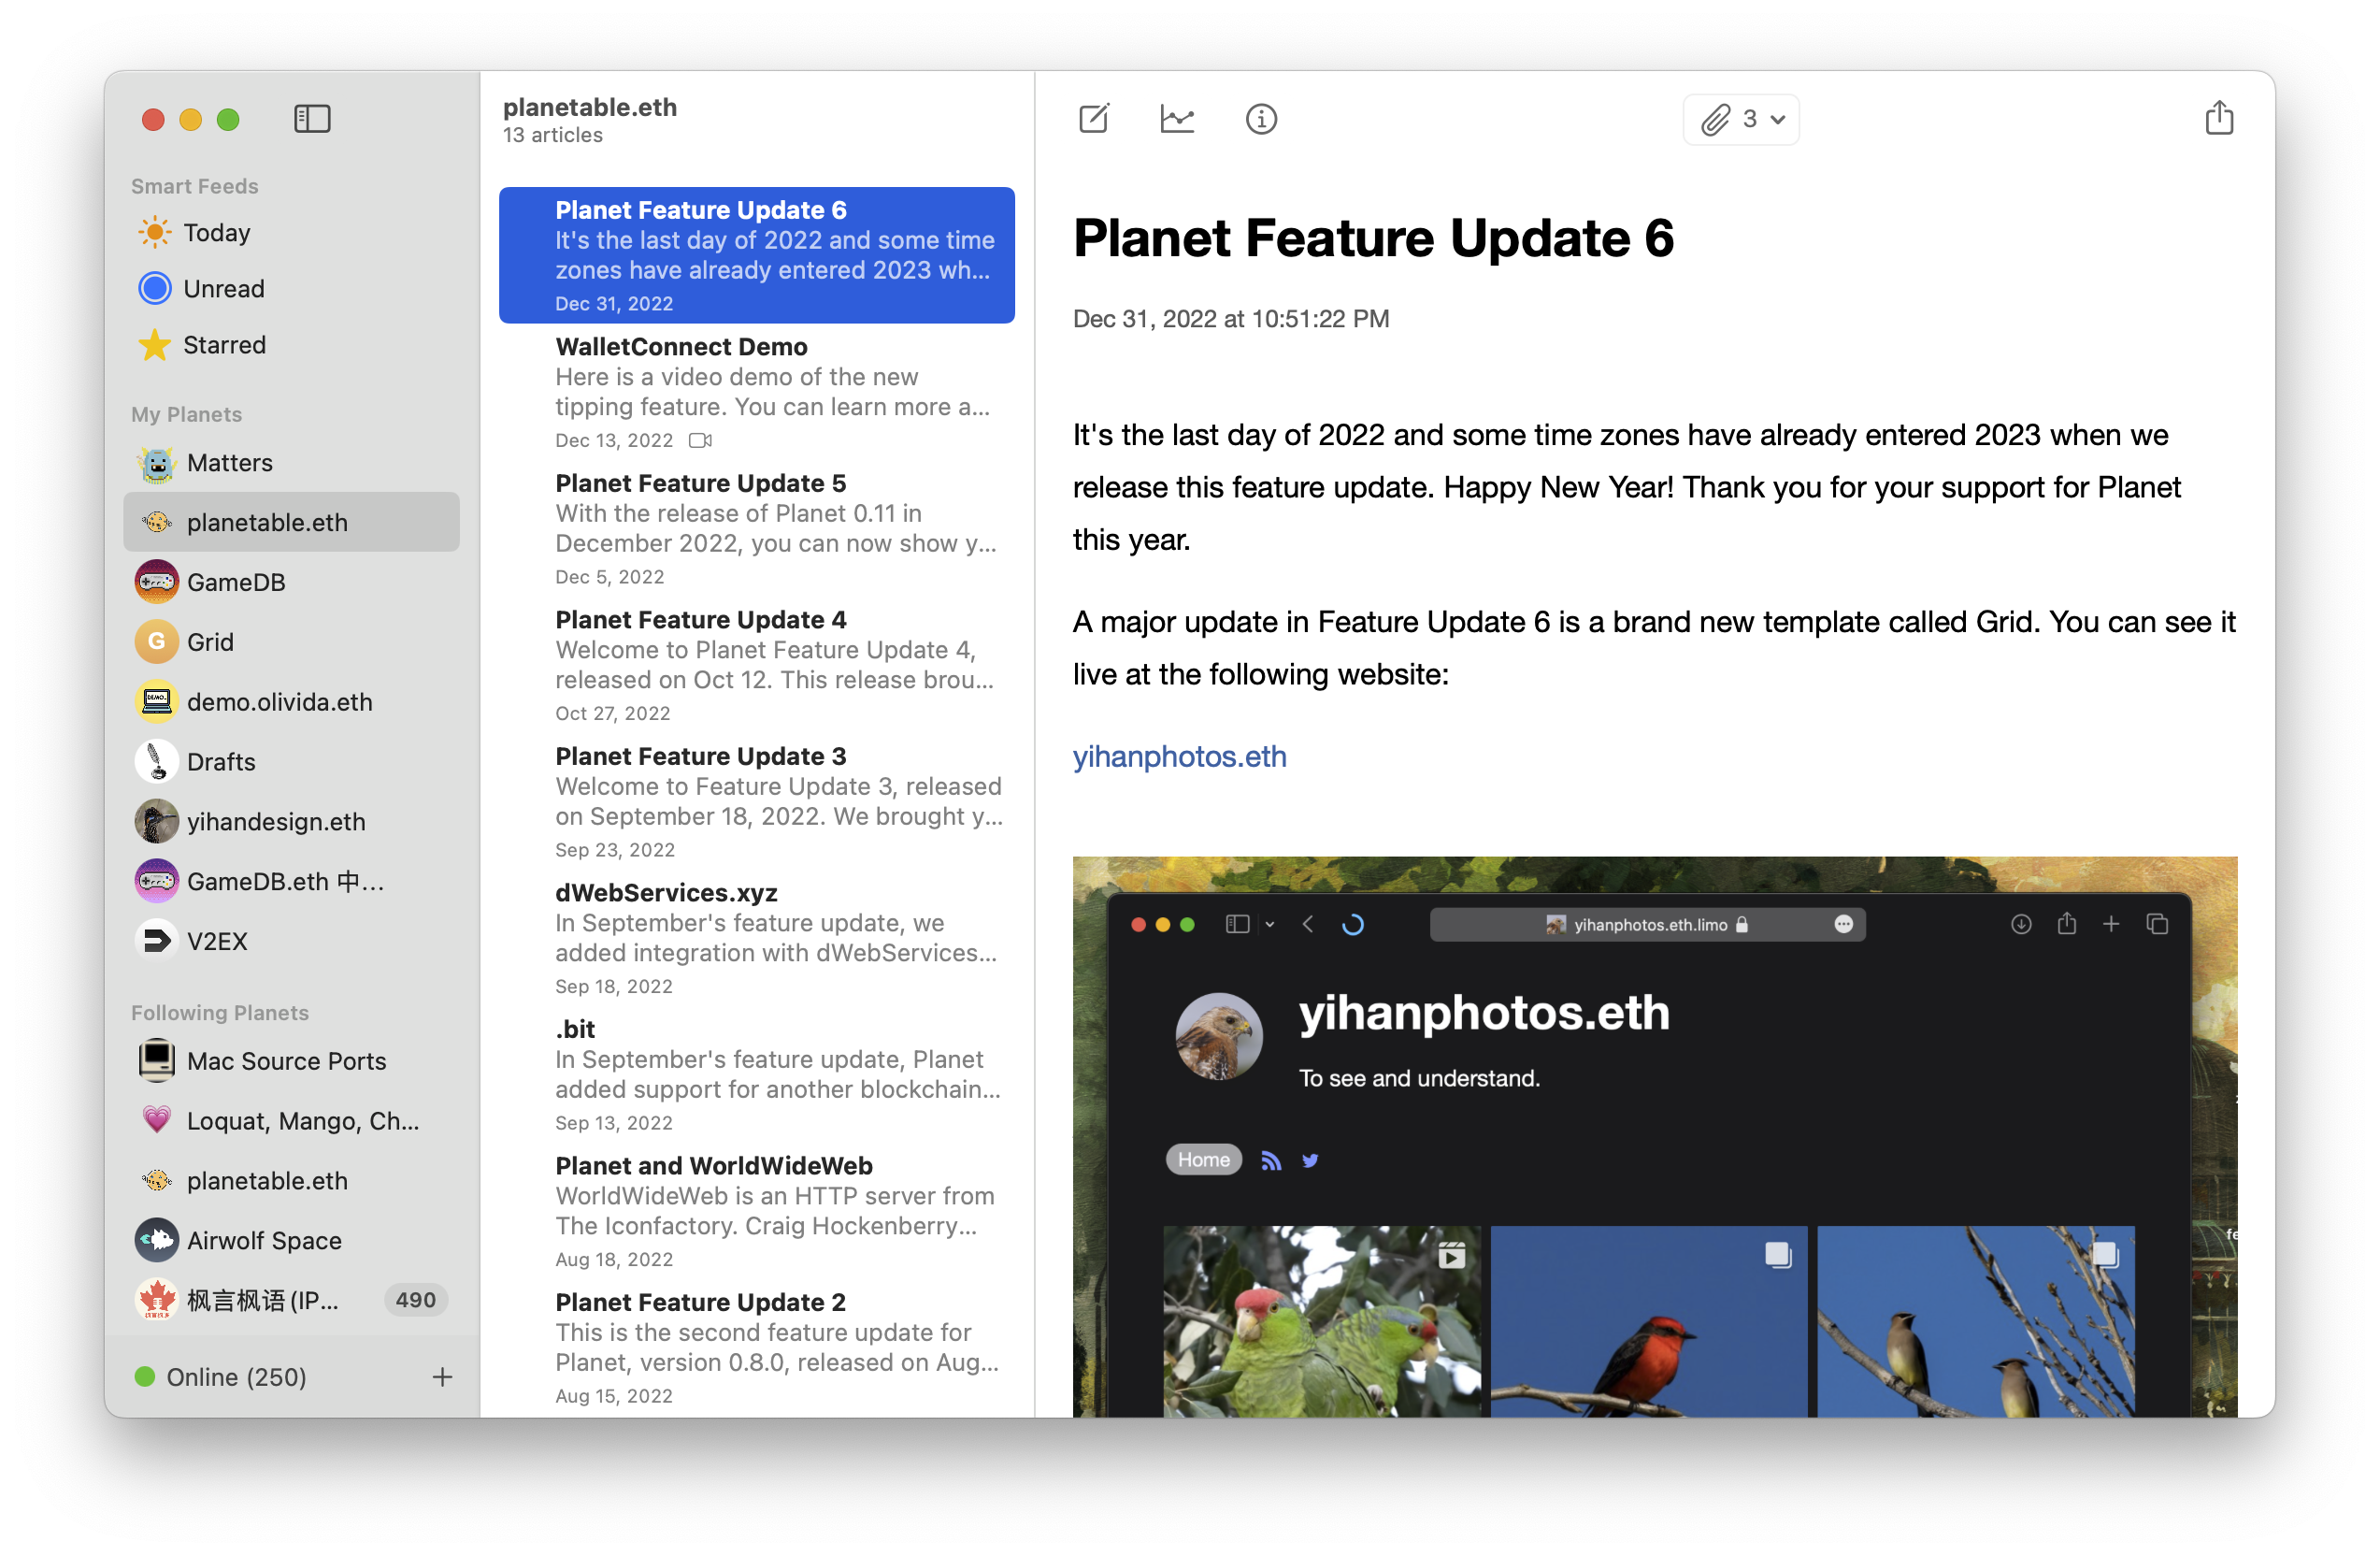
bundle exec jekyll serve --watch I hope you are enjoying the ride. However, if you found the process complex and difficult, you are not alone. That is also part of the reason I started working on Planetable.xyz, a static site generator with a graphical interface and a built-in IPFS node. With the Planet app, you don't need any command line knowledge to start blogging and self-hosting on your Mac. You don't even need an account or cloud because Planet has a built-in IPFS node that can help you publish your blog directly to the Internet as an InterPlanetary Name. You can later link that InterPlanetary Name (IPNS) to your Ethereum Name (.eth name). Since both IPFS and ENS are not controlled by any single entity, you can publish your blog in a fully decentralized way.


 ]]>
]]>
 ]]>
]]>